Ce site utilise des cookies afin que nous puissions vous fournir la meilleure expérience utilisateur possible. Les informations sur les cookies sont stockées dans votre navigateur et remplissent des fonctions telles que vous reconnaître lorsque vous revenez sur notre site Web et aider notre équipe à comprendre les sections du site que vous trouvez les plus intéressantes et utiles.
To use this feature, you have to create a Google Maps JavaScript API
First, click on the  in the “Add pages” section, to add this feature to your app.
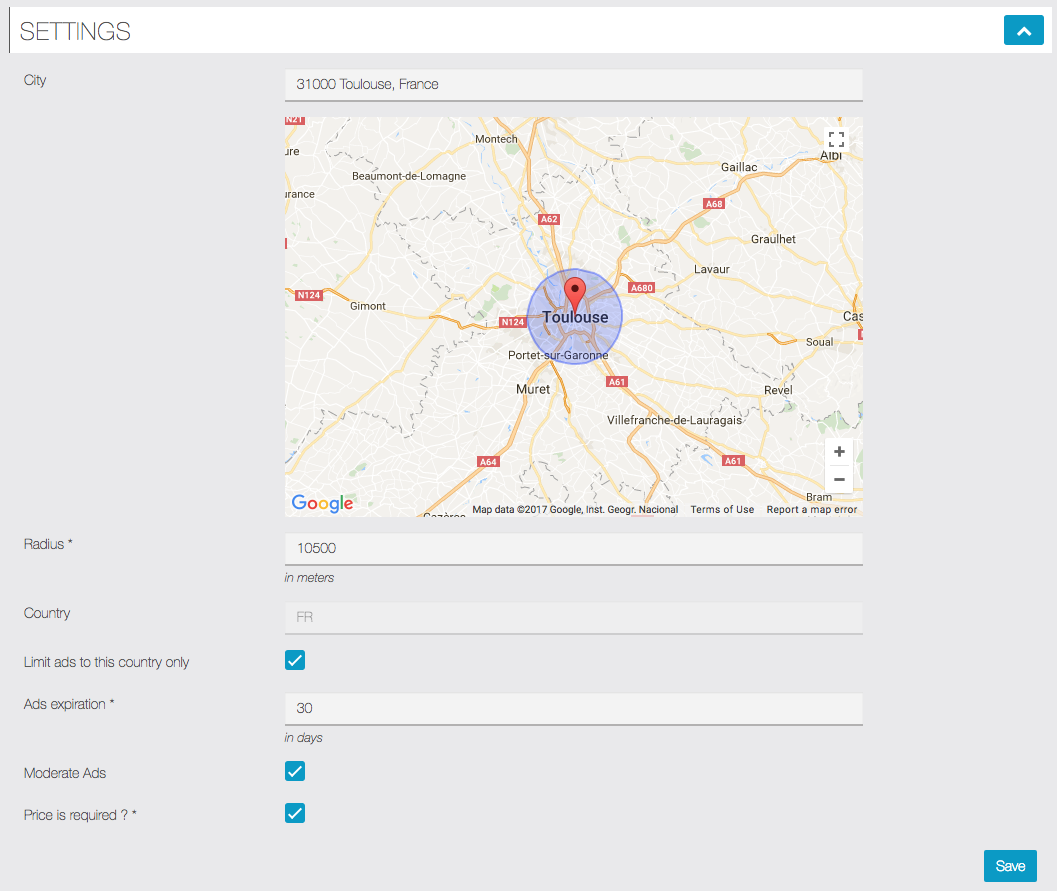
- “Radius“: The distance (in meters) where the ads will be displayed from the selected location.
- “Country“: The country where you want the ad to be available.
- “Limit ads to this country only“: The ad will be displayed only in the country you selected, no matter the radius you choose.
- “Ads expiration“: Choose how much days the ad will stay on the app.
- “Moderate Ads“: If this box is ticked, the admin will have to allow the publication of the ads manually ; if it’s not, it will be automatically published.
- “Price is required ?“: Check this if you want a price in every ads, if you don’t want barter.
Click on ![]() .Now you will have to create Categories:
.Now you will have to create Categories:
First, you have to create a “Section” (for example: Cars/Motorcycle):

Click on ![]() to add it.
to add it.
Now that you have created a section, let’s create some categories (At least one is required):

Click on ![]() to add a category. You can create as many section and categories as you want, there is no restriction.
to add a category. You can create as many section and categories as you want, there is no restriction.
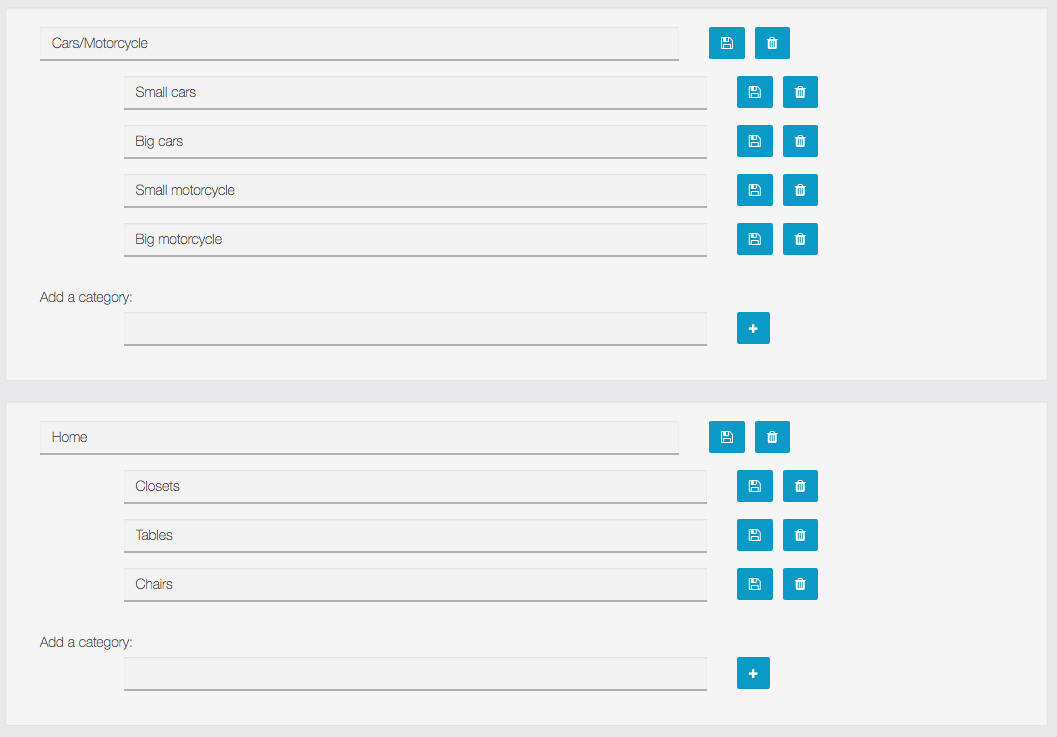
Users can add product’s ads only in categories, not in sections themselves.
In the App
To create an ad, open the app and select the Classifieds feature.
Then click on ![]() on the bottom of the screen.
on the bottom of the screen.
To create one, click on ![]() on the top right of the screen (color may vary depending on your template):
on the top right of the screen (color may vary depending on your template):
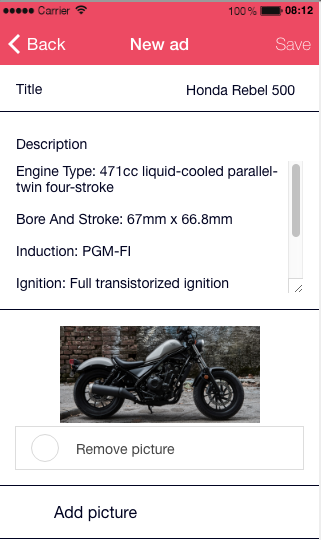
– Write a great description with a minimum of 15 characters (ads won’t be accepted if it’s less than 15 characters)
– Add a picture to the ad.
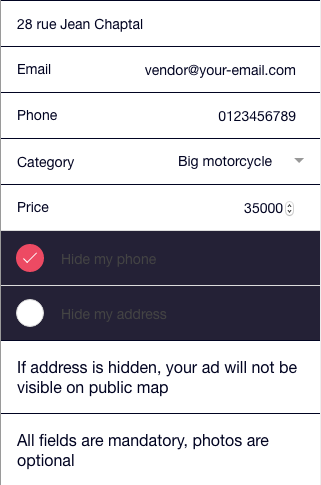
– Add an address or the address of the product.
– Add an email address to be contacted by a potential buyer.
– Add a phone number.
– Add the category where you want the product to be displayed.
You can decide to hide the phone number or the address on the ad, but know that if your address is hidden, then the ad won’t be visible on the public map.
Be sure to have filled out every cases or the ad will not be accepted.
Click on “Save”, the ad is now published!
Manage Ads
You can manage Ads, and moderate them, on the “Manage Ads” section:
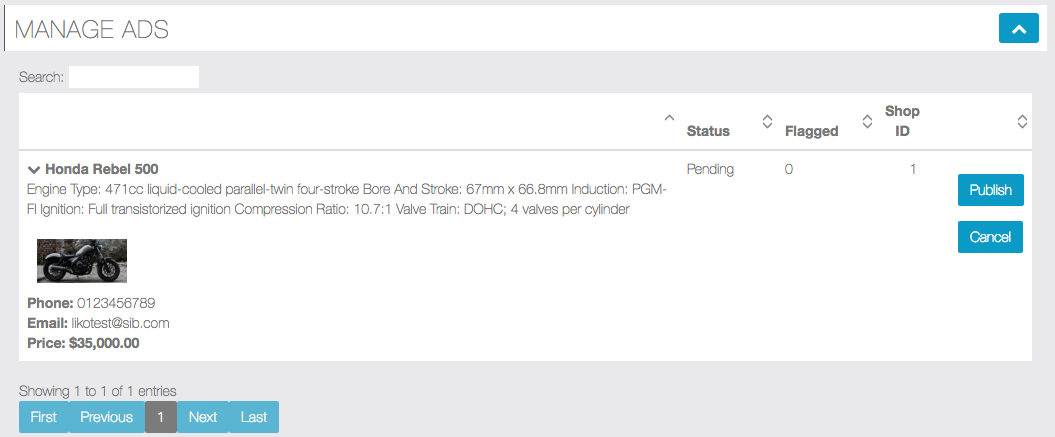
For example here, as I checked “Moderate Ads“, I have to review the Ad and publish it (or not). Click on ![]() to accept it. Click on
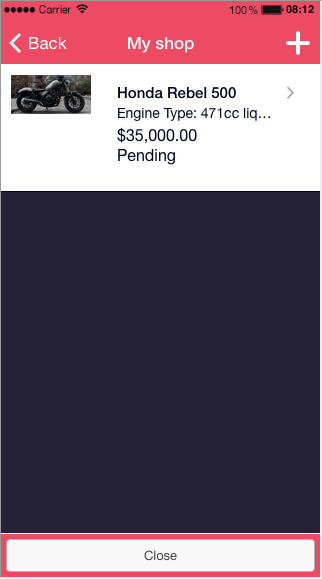
to accept it. Click on ![]() to refuse it. In the App, an Ad waiting for review is like that:
to refuse it. In the App, an Ad waiting for review is like that:
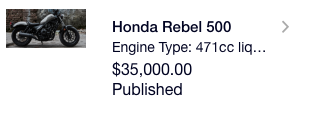
An Ad published:
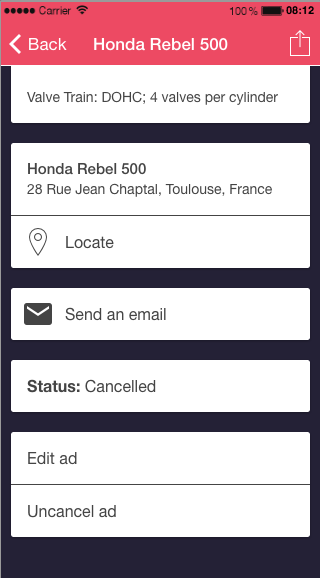
An Ad cancelled:
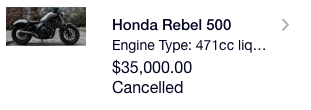
The vendor will have to click on his Ad, edit and uncancel it, to send the Ad to review again:
Start building your application right now without coding.